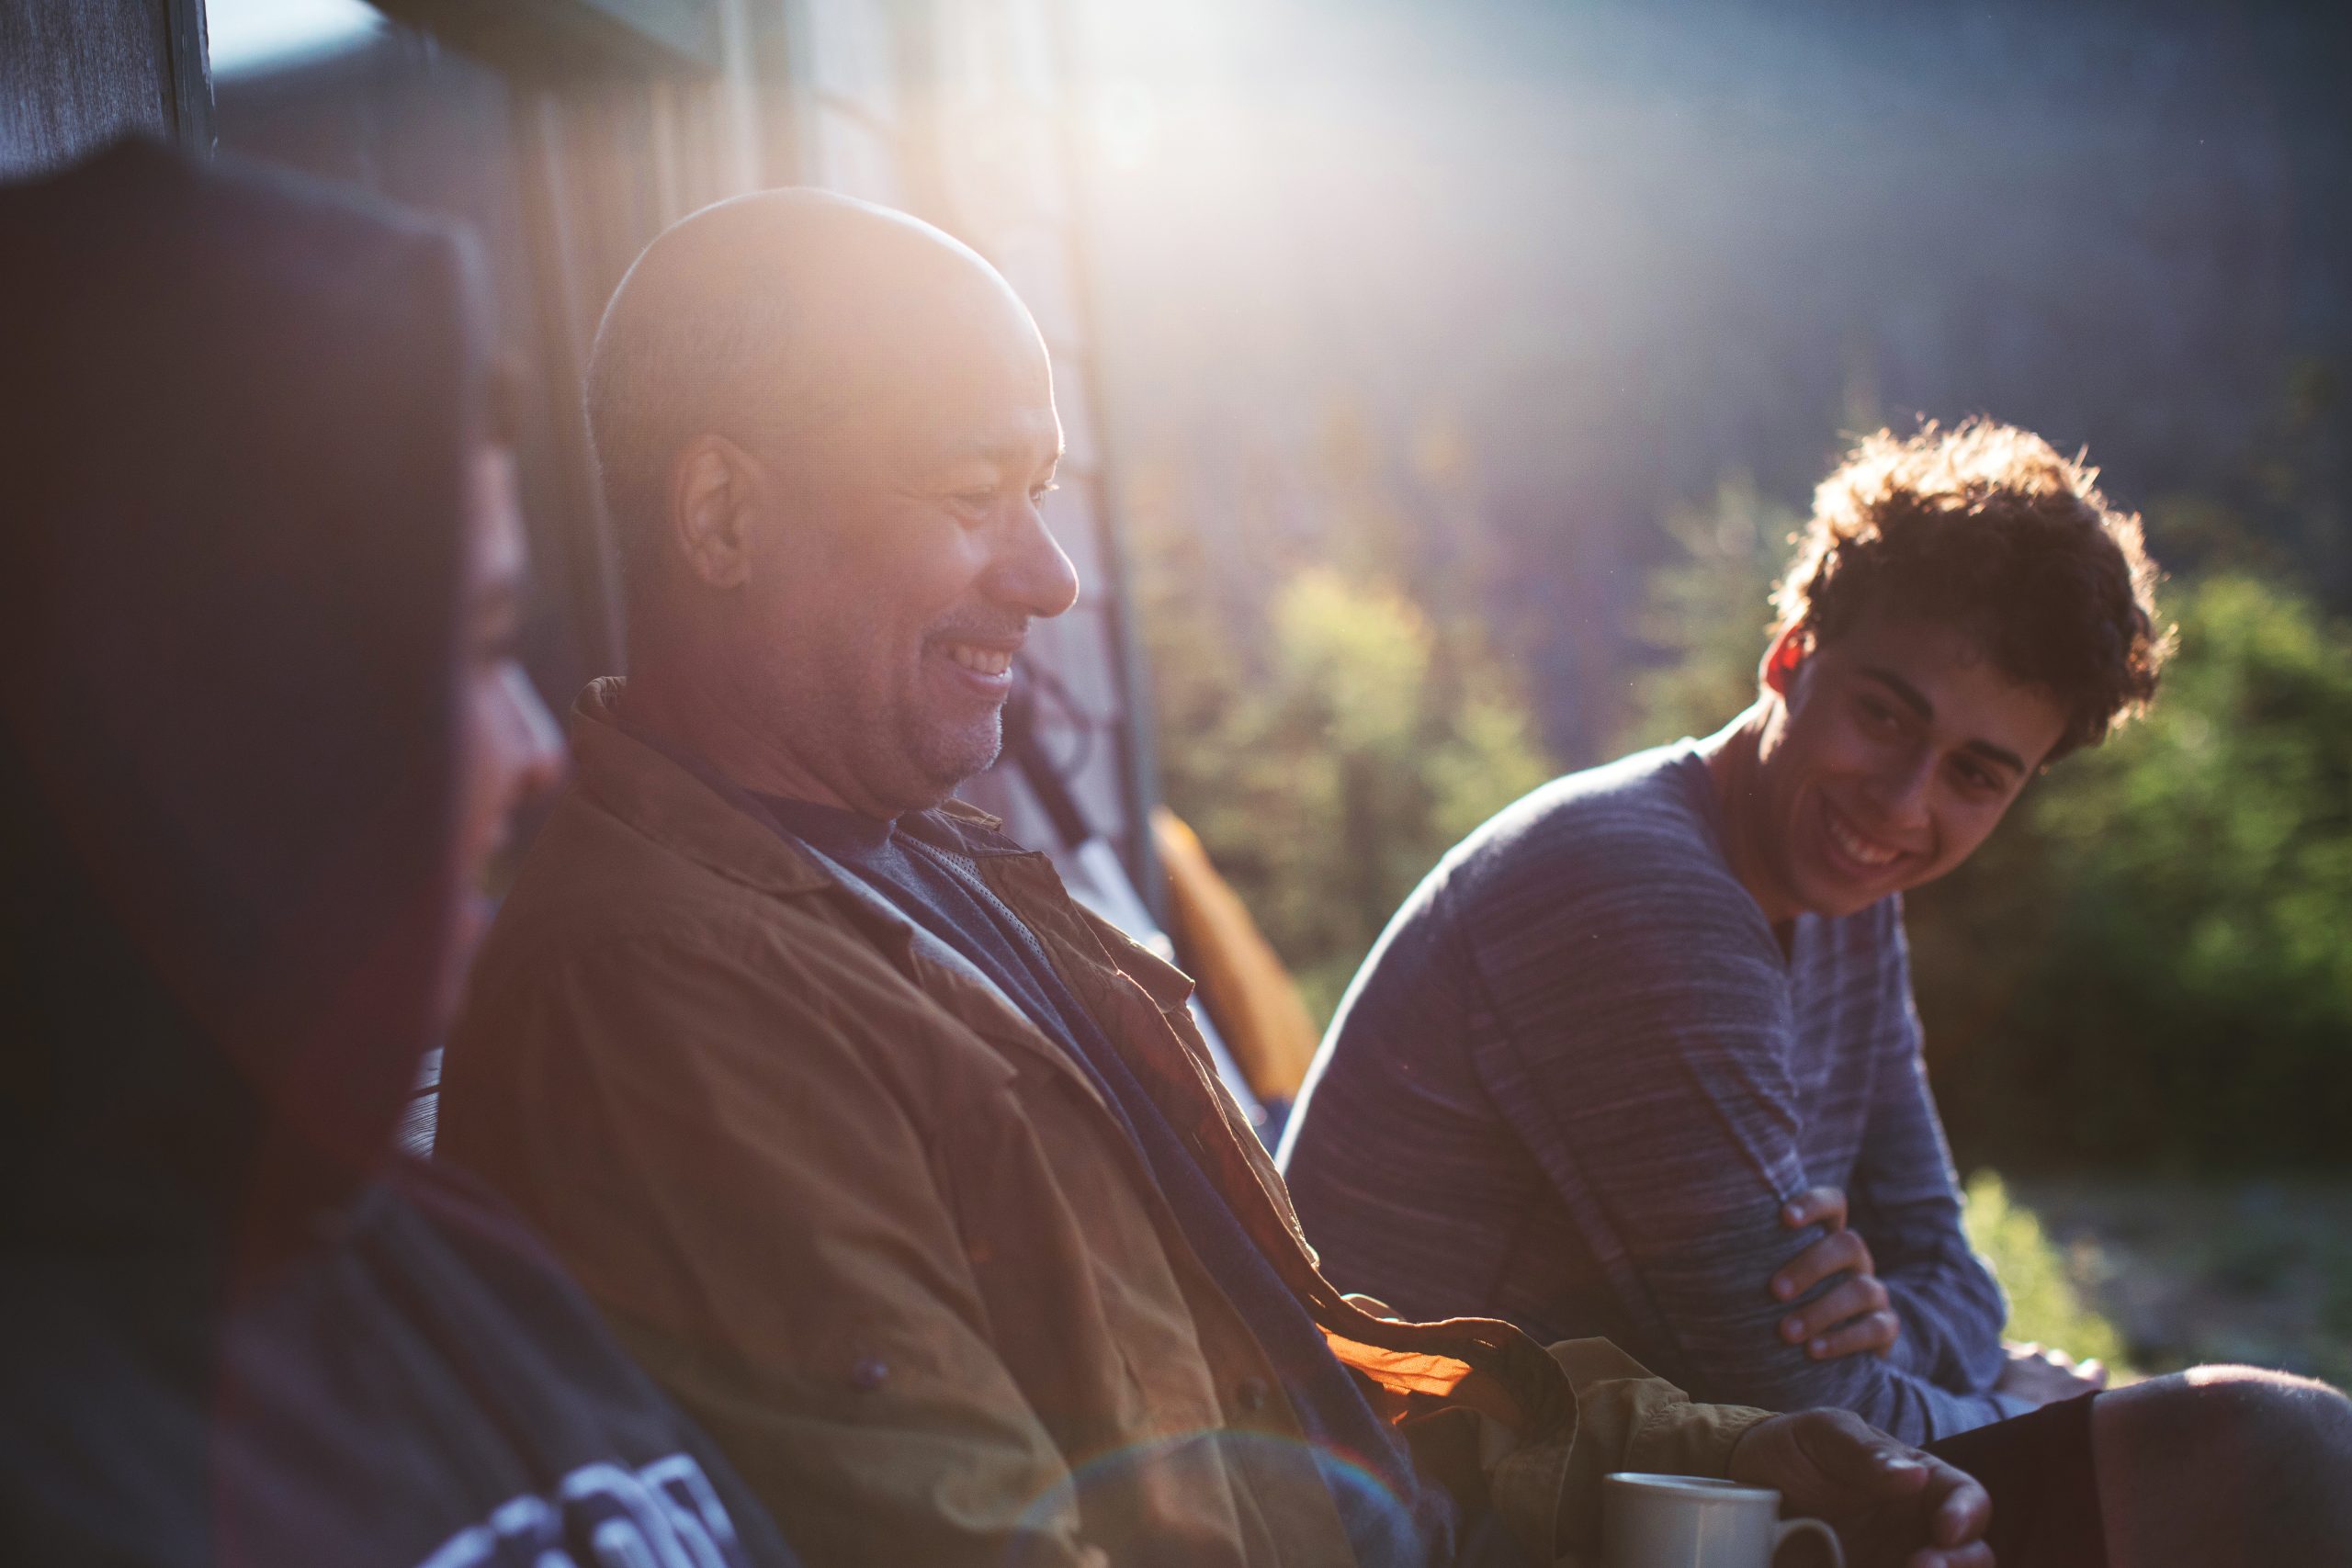
Light rider. Photo by iStock.
caption Light rider. Photo by iStock.
Bike lights, reflectors, and high visibility

By Matt Heid
AMC Outdoors, September 2010

I hike in bitter winter, surf in gnarly seas, and backpack alone in remote places. So what do I consider my most dangerous activity? Biking on city streets. Fast-moving, fourwheeled danger is everywhere in the urban jungle—and no seat belts or airbags protect cyclists in the event of a collision. To minimize the chances of being hit, I make myself as visible as possible. You should too.

DID YOU KNOW?
In 2008, bicycle fatalities occurred most often between 6 and 9 p.m.

Brighten Up
The brightest, most visible color you can wear is fluorescent yellow-green. Why? Our eyes are most sensitive to that particular wavelength of light in the widest range of conditions. Human eyes perceive light using a series of rods and cones, which are adapted to work best when it's darker (rods) or brighter (cones). During the day, bright yellow is most visible to our eyes. But as dusk fades to darkness—and our rods take over—this sensitivity shifts toward green.

Fluorescent yellow-green falls in the middle of this spectrum, optimizing visibility for both daytime and evening rides. (If you ride only during the day or evening, consider more yellow or green, respectively.) Expect to pay $50 to $150 for a quality ultra-bright jacket, more if it's a waterproof-breathable model.

Lighten Up
Once darkness falls, you need a different form of visibility: bike lights. A range of inexpensive front (white) and rear (red) bike lights is available to alert drivers to your presence. Most use LEDs to maximize battery life; many will last 50 to 100 hours or more on a pair of AA or AAA batteries. All but the most basic models feature multiple brightness settings and at least one (more visible) flashing mode. Look for mounts that allow you to easily unclip the light, especially if you'll be taking it on and off when you lock up. Also closely evaluate the on/off switch. An easily triggered button may be convenient, but can burn the batteries down if activated accidentally in your bag or backpack. Finally, consider whether the lights can be seen from the side—the more visible, the better. To further increase visibility, add lights to your spokes, bike frame, pack, or helmet; a range of options is available. A basic front and rear set-up runs $20 to $50.

Show Me the Way
Most bike lights are intended for visibility, not for lighting the path ahead of you. If you're riding in dark, unlit environments, you need a more powerful beam. Ultra-bright bike lights attach to your handlebars or helmet and cast a beam bright enough to navigate by, even when you're moving at speed. They also require significantly more juice to operate. Most feature a separate rechargeable battery pack, which can be attached to the frame, nested in the bike's water bottle cage, or slipped inside your backpack or pocket. At maximum brightness, battery life is relatively short; most models last only two to four hours. (Runtime on lower settings is significantly longer.) Brightness is typically listed in lumens, a measure of light intensity at a set distance. More expensive models are typically brighter. Expect to pay between $125 (100 to 150 lumens) and $500 (600 lumens or more).

Reflections
Reflectors are the final element of your high-visibility arsenal. Bikes are required by law to be sold with reflectors on the front and rear, in the spokes, and on the pedals. This is a good start, but you should consider further upgrading your reflectivity. Ensure that your bike jacket has reflective stripes. Add reflective stickers to your helmet and pack. Wear reflective ankle bands, which move as you pedal and are especially visible. Keep in mind that reflectors work only when illuminated and are not a safe substitute for always-on bike lights.